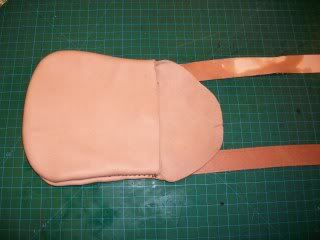
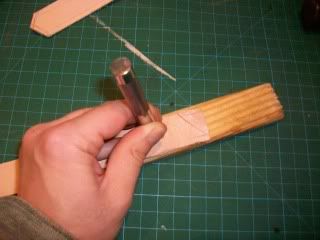
after some drying time, a punch is used to create a slot for the buckle tongue on both straps:
A thin leather "keeper" is cut for the strap:
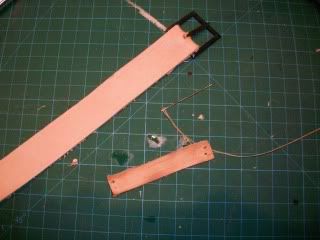
the keeper is basted together:
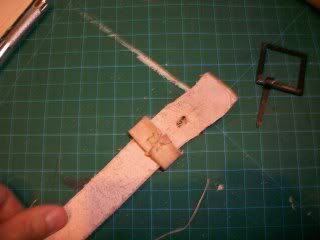
and the whole works are shoved into the strap:
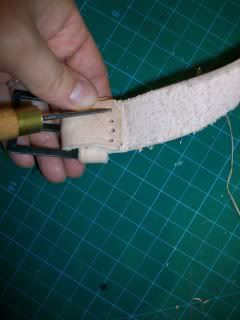
A line of stitching is needed to hold this in place:
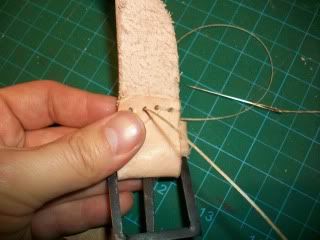
and two more will be run up to the edge of the buckle:
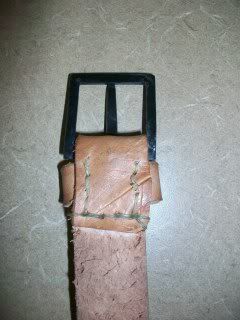
as seen on this original shot belt:
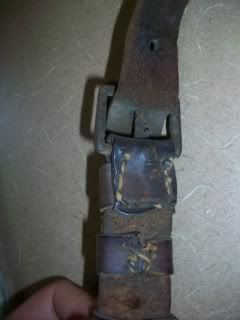
After that, the two straps can be joined:
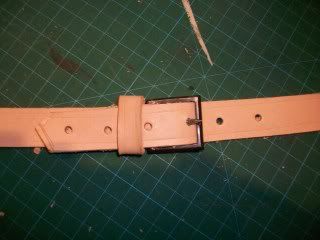
and we are basically done:
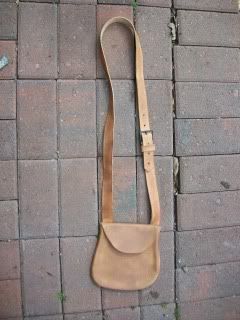
For this pouch, I decided to simply oil the bag down a bit to achieve a tone similar to some 18thc sporting images- basically I rubbed a bit of neatfoot oil on with a rag and dried it in the sun:
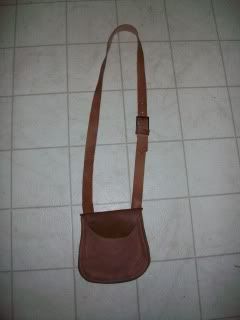
Hopefully this makes sense. Happy shot pouch building!
